
 English
 简体中文
简体中文
 Chinese
 English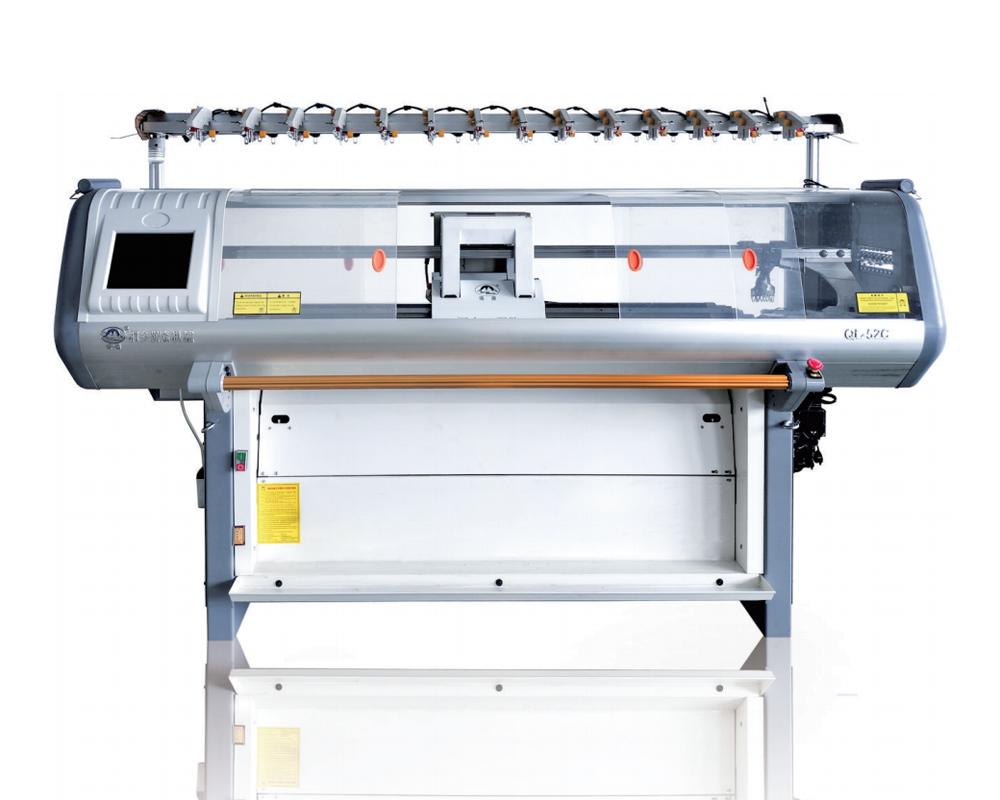
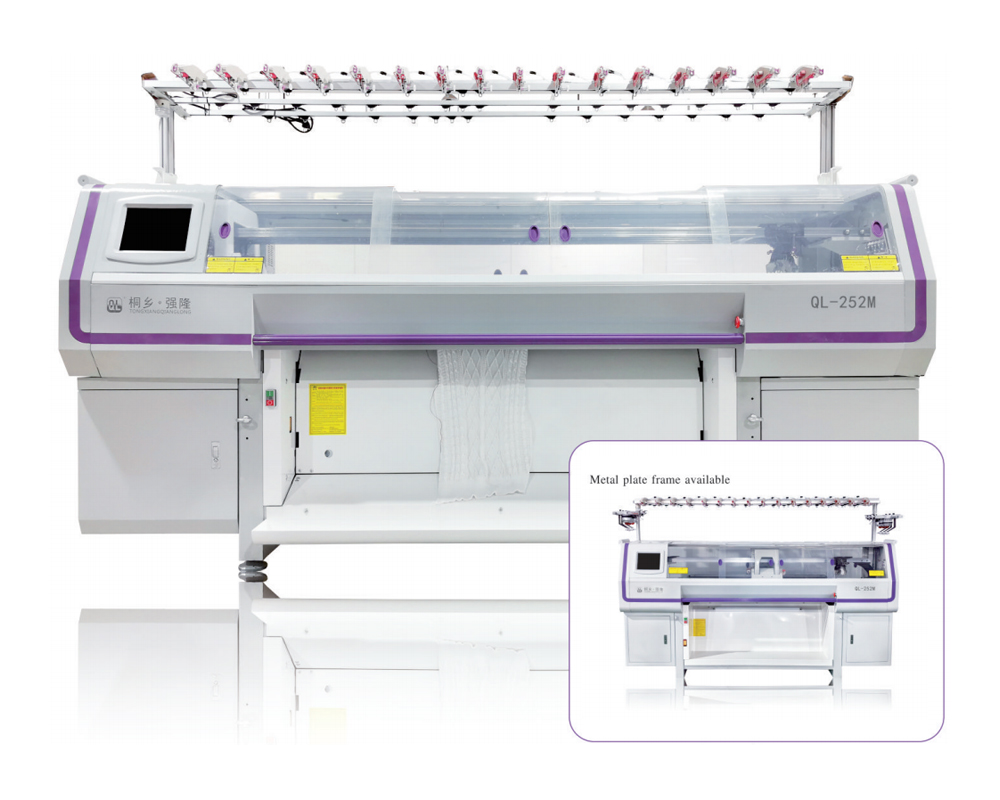
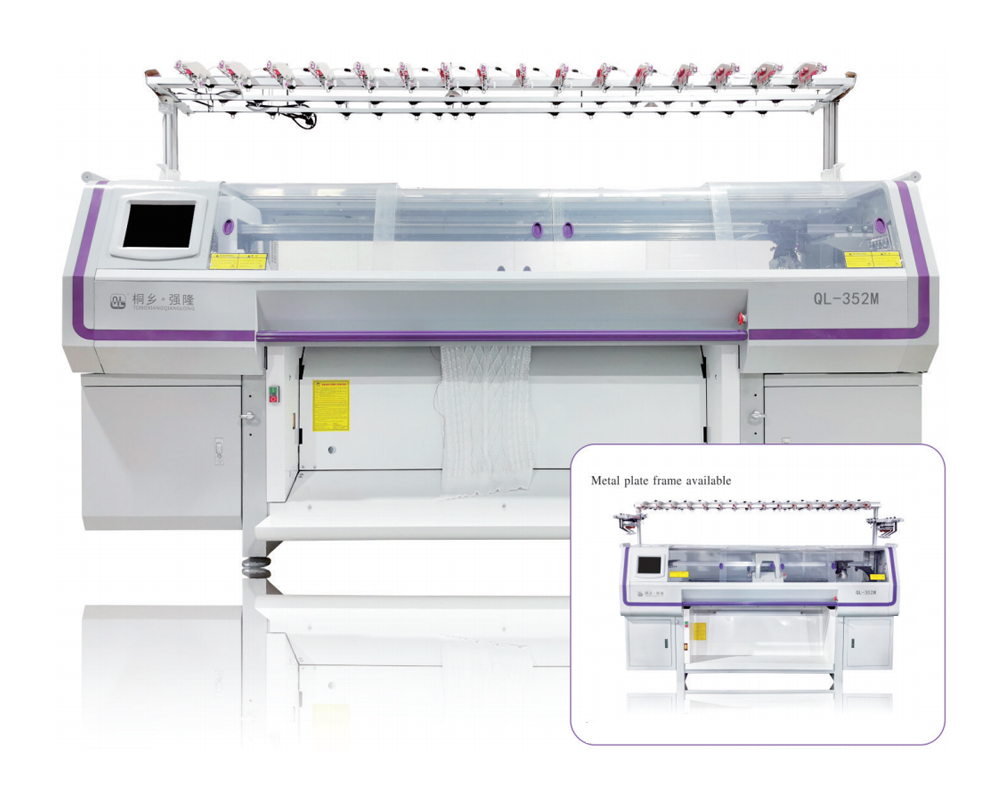
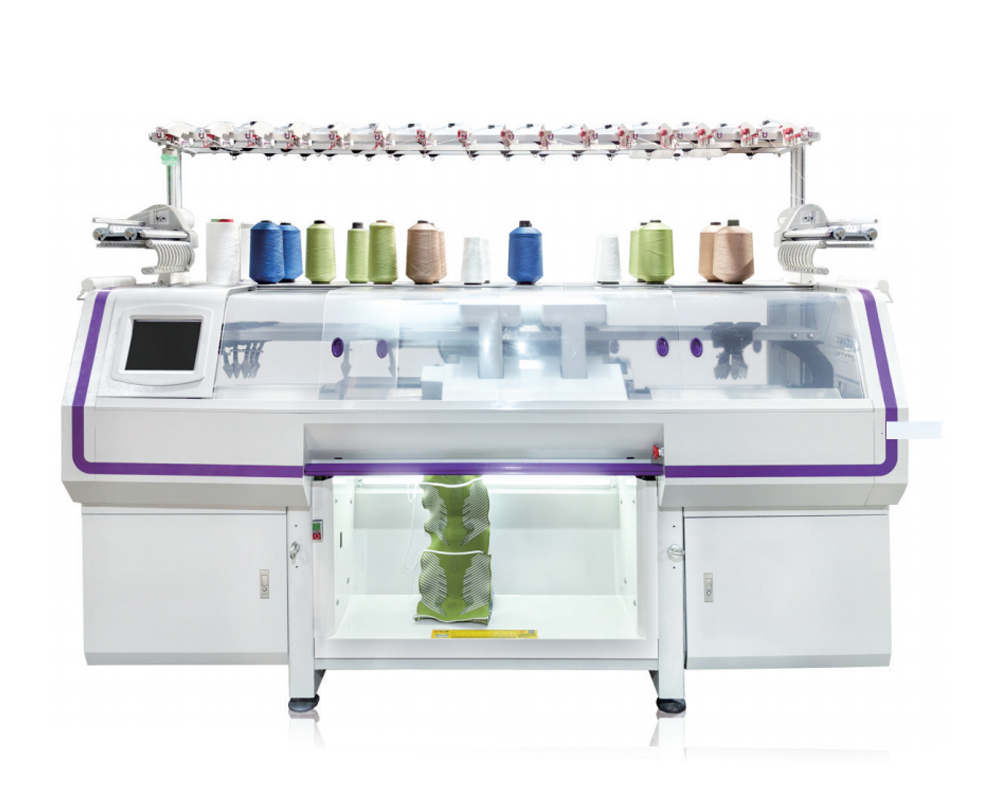
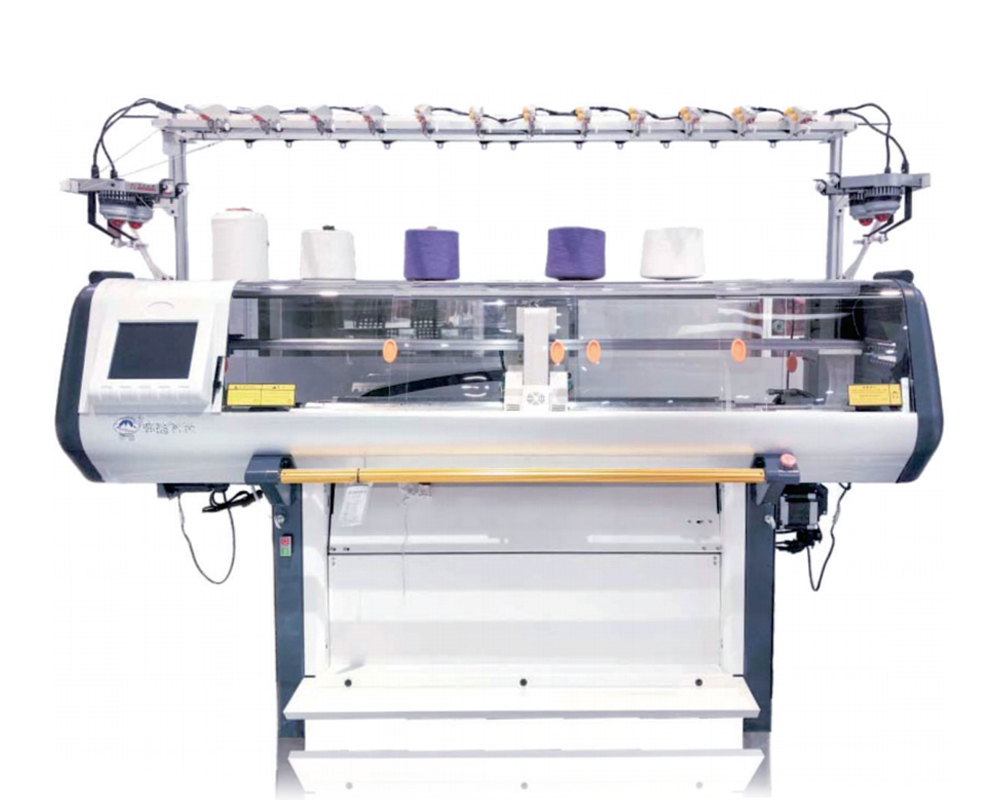
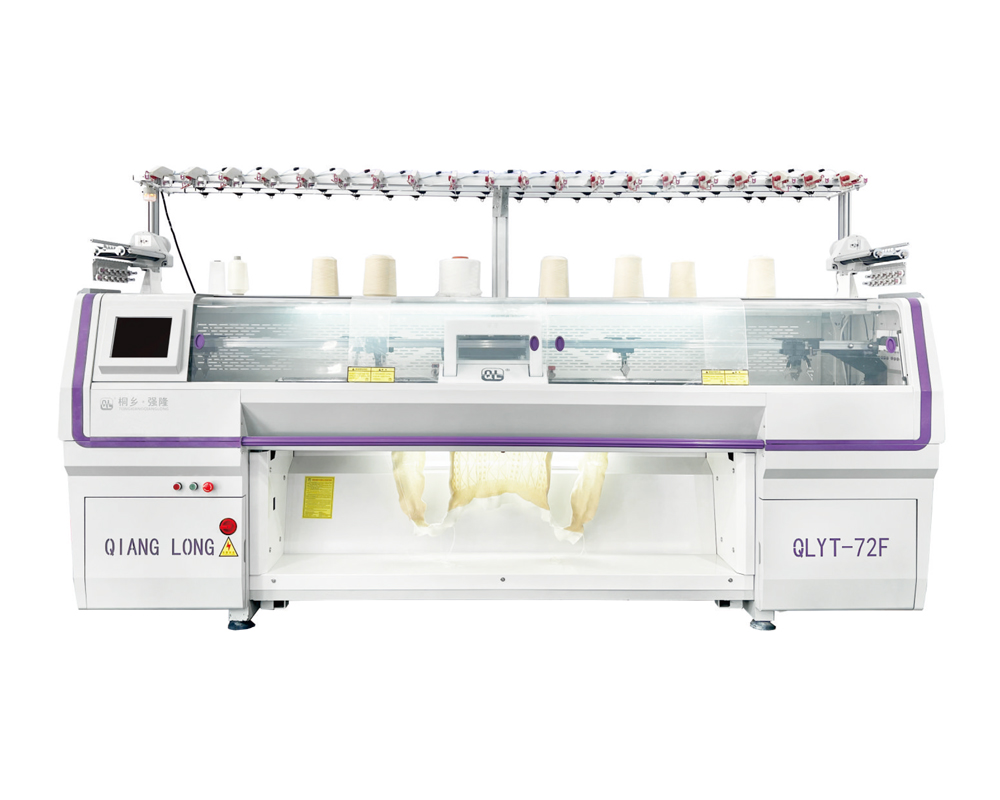
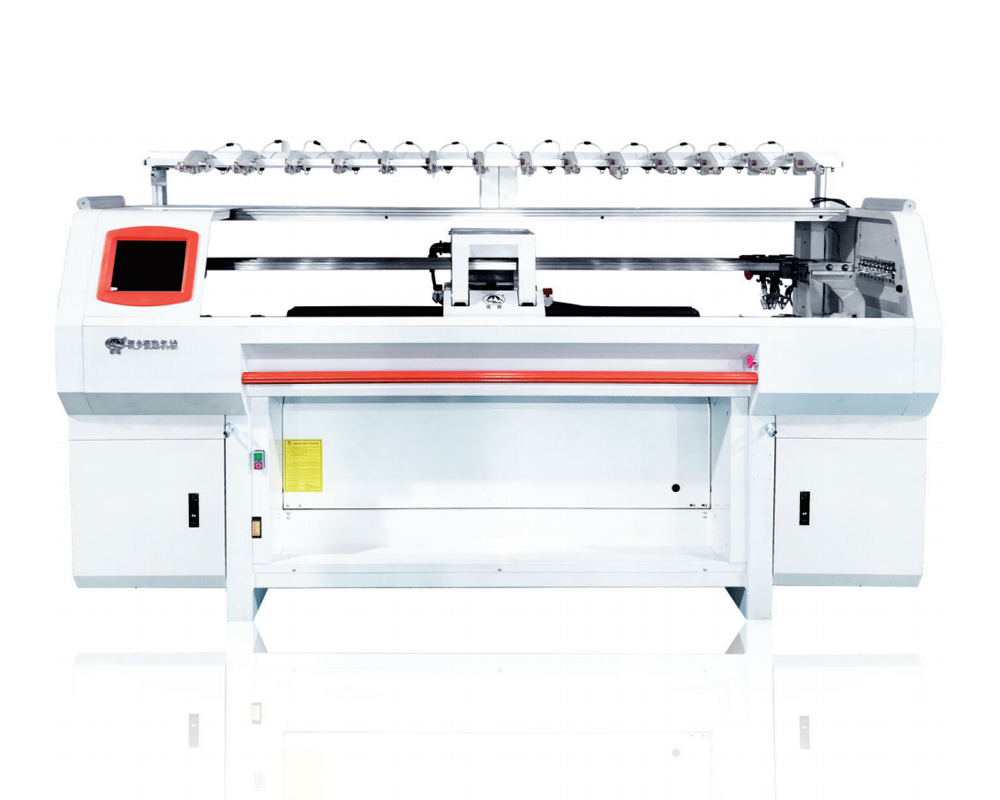
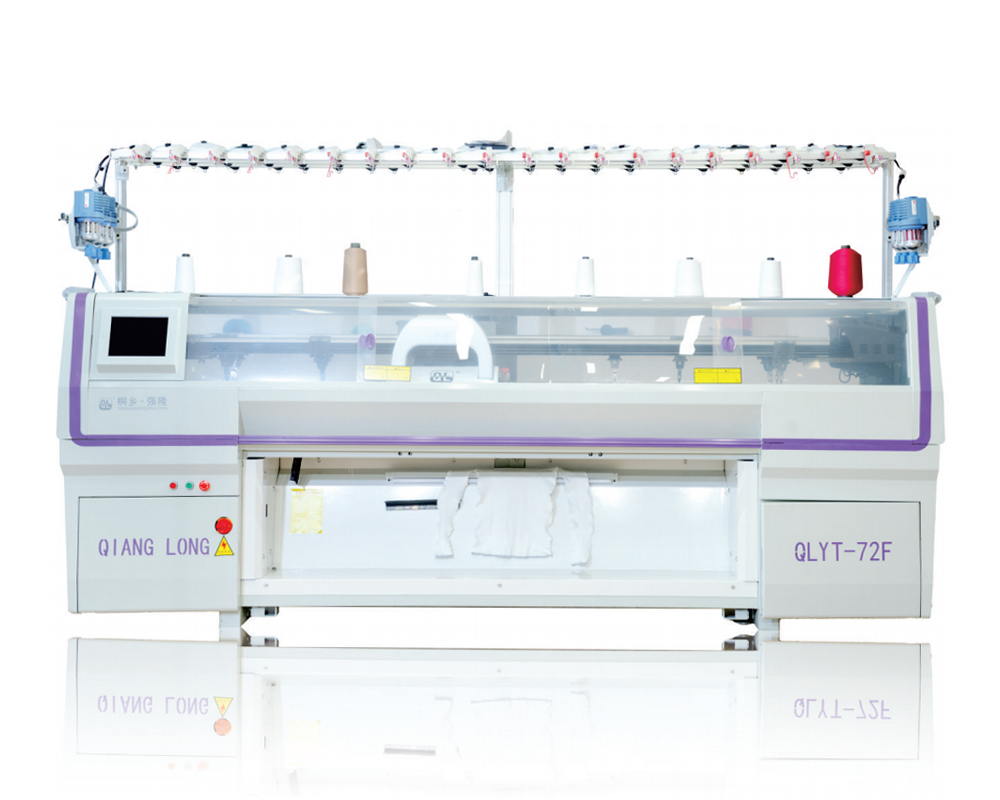
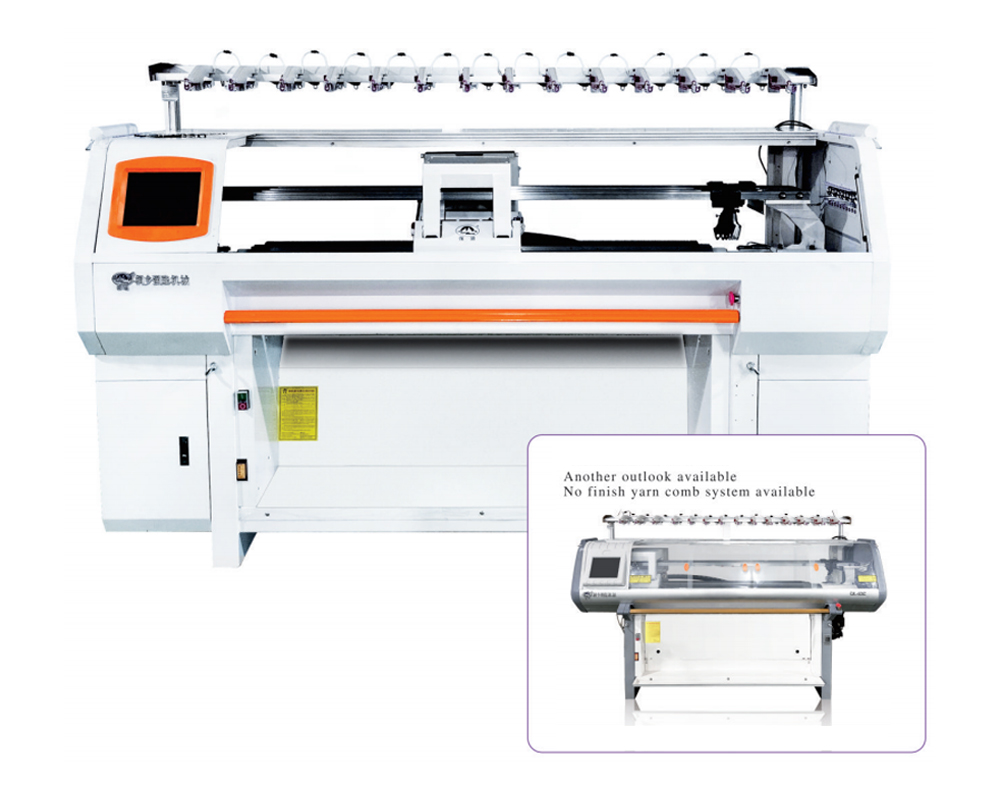
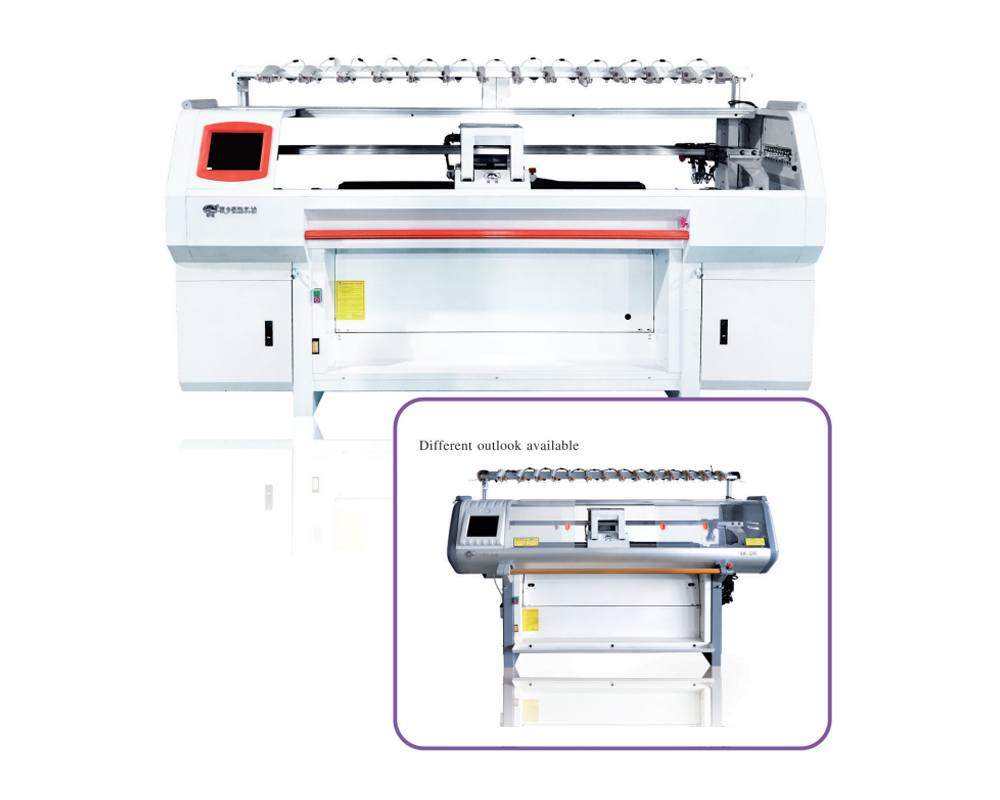
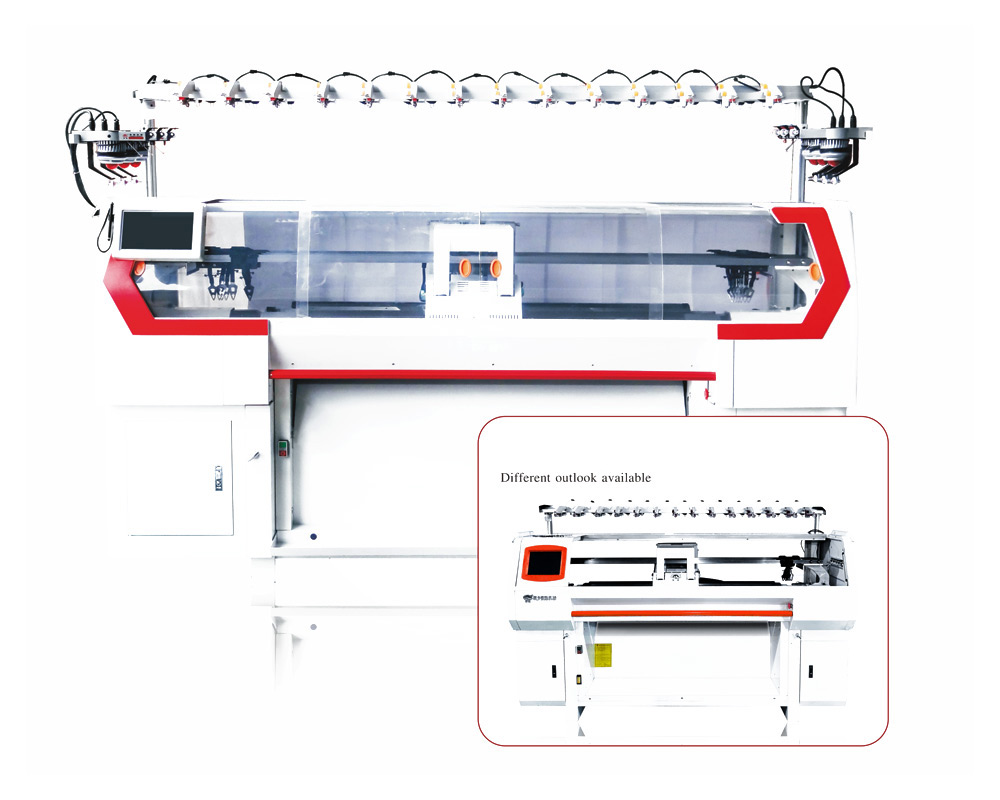

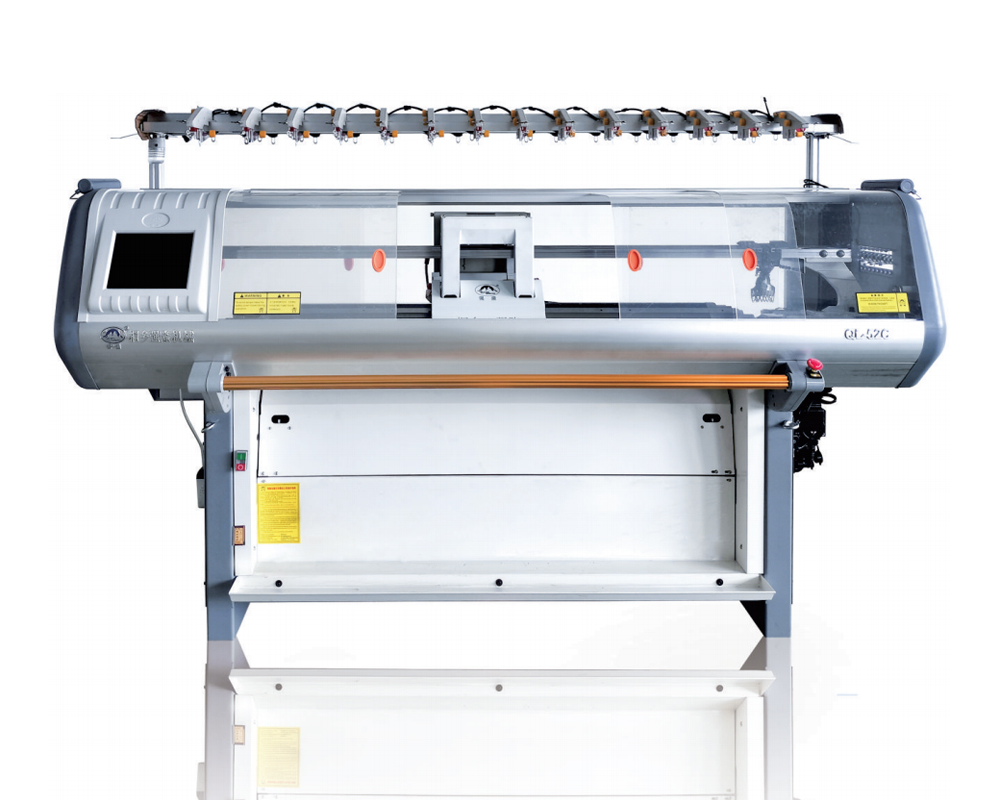
Tongxiang Qianglong Machinery Co., Ltd. is high-tech China wholesale computerized flat knitting machine manufacturers, specialized in designing, developing, and manufacturing Knitting Machinery..
Content
- 1 Getting to Know Your Knitting Machine Before You Start
- 2 Setting Up the Knitting Machine Correctly
- 3 Threading and Casting On Your First Row
- 4 Understanding Tension Settings and Stitch Selection
- 5 Knitting Your First Panel Step by Step
- 6 Shaping Techniques: Increasing and Decreasing
- 7 Binding Off and Removing Your Work
- 8 Troubleshooting Common Knitting Machine Problems
- 9 Cleaning and Maintaining Your Knitting Machine
- 10 Practice Projects to Build Confidence
Getting to Know Your Knitting Machine Before You Start
A knitting machine can turn hours of hand-knitting into minutes of guided, repetitive motion, but only if you understand its parts before you touch the yarn. Most home knitting machines, whether flatbed or circular, share the same core components: a needle bed with dozens of latch or spring needles, a carriage that slides across the bed to form stitches, tension dials that control yarn thickness feed, and a row counter that tracks your progress. Spend ten minutes simply moving the carriage back and forth with no yarn loaded so you get a feel for how much resistance is normal and how the needles rise and fall in response.
Before your first project, check that every needle in the bed moves freely. A stuck or bent needle is the single most common cause of dropped stitches and uneven fabric for beginners. Run your finger along the needle bed and gently push each needle forward and back. Replace any that feel gritty, bent, or loose, since a single faulty needle can ruin an otherwise perfect panel of knitting.
Setting Up the Knitting Machine Correctly
Proper setup prevents the majority of frustrating tangles and skipped stitches that discourage new users. Start by clamping the machine firmly to a sturdy table using the built-in clamps, leaving enough space on either side for the carriage to travel the full width of the bed without hitting anything. The table should not wobble, because every small vibration transfers into your stitch tension.
Next, attach the yarn mast or tension arm at the back of the machine. This vertical pole holds your yarn cone or ball above the machine and feeds it down through a series of guides and a tension unit. Thread the yarn through each guide in the correct order, usually numbered on the tension unit itself, and make sure it passes through the yarn feeder eye on the carriage last. Skipping a guide is a frequent beginner mistake that causes the yarn to feed unevenly and produce loose or tight rows partway through a project.
Tools you should keep within reach at your workstation include:
- A set of transfer tools for moving stitches between needles
- Claw weights or a weighted hem to keep tension even as you knit
- A crochet hook for casting on and fixing dropped stitches
- A small brush for clearing lint from the needle bed and carriage rails
- Spare needles matched to your machine's gauge
Threading and Casting On Your First Row
Casting on is where most beginners feel the most uncertain, but the process becomes routine after a few attempts. Push forward the needles you plan to use, based on the width of your pattern, so their latches open and they sit in working position. Lay a length of waste yarn across the open hooks by hand, then bring the needles back to non-working position so the latches close over the yarn. This waste yarn row acts as scaffolding and will be removed later.
With the waste yarn row in place, attach your working yarn to the carriage feeder and run the carriage across the bed once or twice to knit a few rows of waste yarn. This step stabilizes the stitches before your main yarn takes over. Switch the tension dial to your intended setting, attach the claw weights to the fabric edge for even downward pull, and begin knitting your project yarn. The weights are essential here; without enough downward tension, the needles may fail to knock over old loops properly, leading to dropped stitches right from the start.
Understanding Tension Settings and Stitch Selection
Tension numbers on a knitting machine correspond to how much yarn is fed into each stitch, with lower numbers producing tighter, denser fabric and higher numbers producing looser, more open fabric. There is no universal correct number since it depends on yarn weight, fiber content, and the look you want. Always knit a swatch of at least thirty stitches wide and forty rows tall before starting a real project, then measure your gauge against the pattern's requirements.
Common Tension Ranges by Yarn Weight
| Yarn Weight | Typical Tension Setting | Common Use |
| Lace or fingering | 2 to 4 | Shawls, fine garments |
| Sport or DK | 5 to 7 | Sweaters, cardigans |
| Worsted or aran | 8 to 10 | Blankets, heavier garments |
If your machine offers pattern cams, punch cards, or an electronic pattern selector, this is also the stage to choose your stitch pattern. Plain stockinette is the easiest starting point, since it only requires the carriage to pass back and forth without adjusting individual needles. Once you are comfortable, you can explore tuck stitches, lace transfers, and Fair Isle patterning using the machine's built-in pattern mechanisms.
Knitting Your First Panel Step by Step
Once your tension and pattern are set, knitting itself is largely a rhythm of pushing the carriage from one side of the bed to the other. Each full pass creates one row of stitches. Keep your movements smooth and consistent in speed, since sudden jerks can cause the yarn to catch or the needles to skip. Check your row counter after every few passes to confirm it is advancing correctly, and glance at the fabric forming below the needle bed to catch any irregularities early.
As the fabric grows, periodically lower the claw weights so they continue to hang freely and apply even tension. Neglecting to reposition weights is a common reason knitted panels develop puckering or loose rows partway through a project. If you notice a hole or dropped stitch, stop immediately, use your transfer tool or crochet hook to pick the stitch back onto its needle, and only continue once it is secure.
Shaping Techniques: Increasing and Decreasing
Garments rarely stay a single rectangular shape, so learning to increase and decrease stitches on the machine opens up sleeves, necklines, and fitted silhouettes. To decrease, use a transfer tool to move one or more stitches from an outer needle onto its neighbor, then push the now-empty needle out of working position so it stops knitting. To increase, bring a previously inactive needle into working position at the edge and hang a small loop of yarn on it before the carriage passes, so it begins forming a new stitch.
Keep a written or printed copy of your pattern's shaping instructions next to the machine, marking off each shaping row as you complete it. Machine knitting moves quickly, and it is easy to lose track of exactly which row you are on if you rely on memory alone.
Binding Off and Removing Your Work
When your panel reaches its final row, you need a proper bind-off to keep stitches from unraveling once removed from the needles. Latch tool bind-off is the most common method for beginners: hook the tool through the first stitch, pull the next stitch through it, and repeat across the entire row until one stitch remains, then thread the working yarn through that final loop and pull tight.
After binding off, carefully lift the fabric from the claw weights and needle bed. Unravel the waste yarn row from the start of your project by hand, which reveals the clean cast-on edge of your actual project yarn. Steam or wet block the finished panel according to your yarn's care instructions to even out any remaining tension inconsistencies before sewing pieces together.
Troubleshooting Common Knitting Machine Problems
Even experienced users encounter occasional issues, and knowing the likely cause saves considerable frustration.
| Problem | Likely Cause | Fix |
| Dropped stitches | Insufficient weight or bent needle | Add weight, replace needle |
| Carriage jams mid-row | Lint buildup or misaligned needle | Clean rails, push needle back into line |
| Uneven tension across a row | Yarn not threaded through all guides | Rethread yarn mast completely |
| Fabric puckers at edges | Weights not repositioned | Lower claw weights every few inches |
Cleaning and Maintaining Your Knitting Machine
Routine maintenance keeps a knitting machine working smoothly for years. After every few projects, remove lint and fiber buildup from the needle bed, carriage rails, and gears using a small brush or a can of compressed air. Lint accumulation is the leading cause of carriage stiffness and skipped needles over time.
Apply a small amount of machine-specific oil to the carriage rails and moving parts according to your manufacturer's manual, usually every ten to twenty hours of use. Avoid household oils, which can attract dust and gum up the mechanism. When not in use, cover the machine to protect it from dust, and store it somewhere with stable humidity, since extreme moisture can cause needles to rust and plastic components to warp.
Practice Projects to Build Confidence
Rather than jumping straight into a fitted sweater, build your skills with smaller projects that reinforce each technique in isolation. A simple rectangular scarf teaches consistent tension and casting on and off. A basic hat introduces shaping through decreases at the crown. Fingerless mitts let you practice ribbing and small-scale shaping without the time investment of a full garment.
As each practice piece succeeds, note what tension setting, yarn, and technique combination worked well, and keep these notes near your machine for future reference. Over time, this personal record becomes more valuable than any generic manual, since it reflects exactly how your specific machine behaves with the yarns you actually use.
